
When a neighbor’s tree falls onto your property in New Orleans, the claim generally starts with your own insurer rather than theirs, regardless of where the tree grew. Responsibility often turns on whether the tree was healthy and brought down by weather, or was visibly failing and left standing. Outcomes depend on the specific facts. Document everything before anything is moved, and get advice for your own situation.
This article is general information about how these situations commonly unfold. It is not legal or insurance advice, and it does not describe the law of any particular case. Responsibility depends on the specific facts, so consult your own insurance provider or a licensed attorney about your situation.
At TurnKey Tree Cutting, we are usually the first call after a tree comes down across a fence line, which means we arrive while the responsibility question is still open. Owners want a clear answer, and the honest one is that it depends.
What we can tell you is the order of operations, because the steps you take in the first few hours shape everything that follows. Most of the outcomes we see get decided by documentation rather than argument.
Below is the sequence that keeps the situation manageable. Contact us today to have the tree assessed and the damage recorded before anything is cleared away.
How Responsibility Is Usually Decided When a Neighbor’s Tree Falls
The instinct is to assume that whoever owned the tree owns the problem, and that is frequently not how it works. In most standard arrangements, damage on your property goes to your own policy first, and the insurers sort out anything further between themselves.
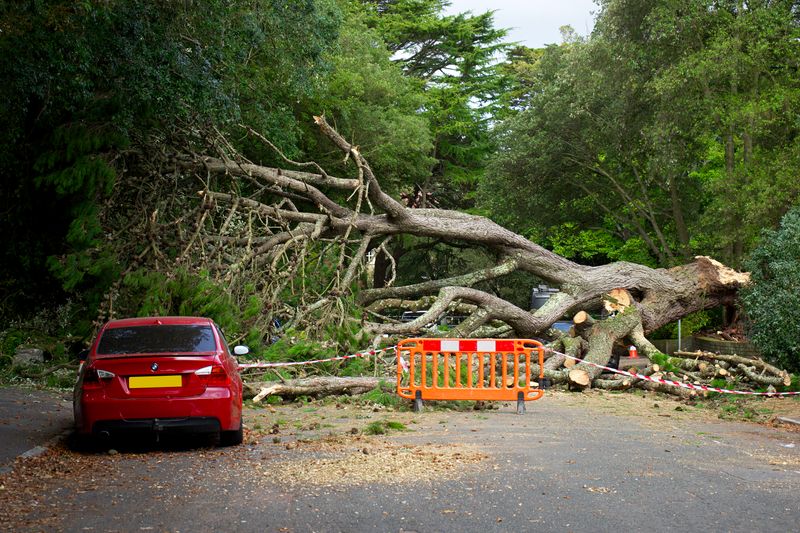
Where the question gets more involved is the condition of the tree before it fell. A healthy tree brought down by a storm is generally treated as a weather event, while a tree that was visibly dead, rotting, or previously reported as a hazard can shift the analysis toward the owner who left it standing.
That is why evidence of prior condition matters so much. Photographs, written messages, and any earlier conversation about the tree become the difference between a straightforward claim and a long argument, which is a reason to handle the documentation before the cleanup.
Step 1: Make Sure the Area Is Safe
Nothing else matters until the scene is safe. A fallen tree frequently brings down more than it appears to from a window.
Before anyone approaches, check for these:
- Downed or contacted power lines: stay well back and call the utility, not a tree service
- Structural damage to the house: treat a hit roof or wall as unsafe until assessed
- Unstable remaining limbs: material still hanging can drop without warning
- Gas or utility connections in the debris: report anything you are unsure about
Keep people and vehicles away from the whole area rather than just the tree. Assume the situation is worse than it looks until somebody with equipment tells you otherwise.
Step 2: Document Everything Before Anything Moves
Documenting the scene is often what settles a dispute later, and it usually takes only a few minutes. Photograph everything thoroughly before a single branch is dragged anywhere.
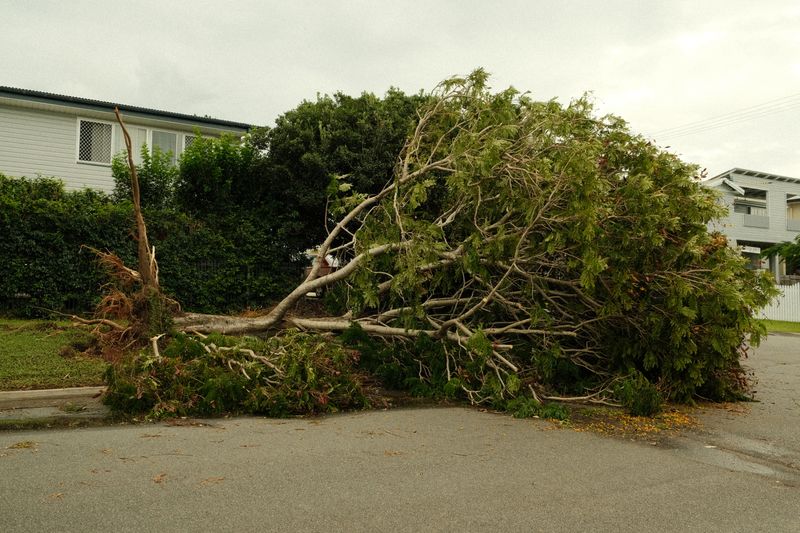
Capture all of the following:
- Wide shots showing the whole scene: the tree, the damage, and the property line together
- Close-ups of every damaged area: roof, fence, vehicle, and outbuilding
- The base and root plate of the fallen tree: this shows condition and how it failed
- Any visible decay, hollow, or old deadwood: the strongest evidence of prior condition
- The date and the weather conditions: note them in writing the same day
Walking the scene on video is worth adding. Once cleanup starts, this evidence cannot be recreated.
Step 3: Notify Your Own Insurer First
Contact your own insurance company before you contact anyone else about payment. In most standard situations, this is where the claim begins even when the tree grew next door.
Report what happened, share the documentation, and ask directly what they need from you. Ask specifically whether they want the debris left in place until an adjuster has seen it, because clearing too early can complicate the claim.
Keep a written log from the first call onward. Note the claim number, who you spoke to, and the date of each conversation, since the order of events is easier to show from notes than from memory.
Your insurer may pursue the neighbor’s carrier if the facts support it. That process happens between the companies rather than between you and your neighbor.
Step 4: Talk to Your Neighbor Early
Have the conversation before positions harden. Most of these situations resolve reasonably when both parties are told what is happening rather than finding out through a claims adjuster.
Keep it factual and keep it in writing where you can:
- Tell them what happened and what was damaged: plainly, without assigning blame
- Share your documentation: transparency defuses more than it costs
- Exchange insurance information: both carriers will likely need it
- Follow up by text or email: a written record beats a hallway conversation
Keep the tone neutral even if you believe the tree should have come down long ago. A conversation that opens with blame usually ends with both sides talking only through their carriers, which slows everything down.
Avoid negotiating money directly. That is what the carriers are for, and informal agreements tend to unravel.
Step 5: Get the Tree Assessed
An assessment does two jobs at once. It tells you how to safely clear the tree, and it records the condition of the wood while the evidence is still on the ground.
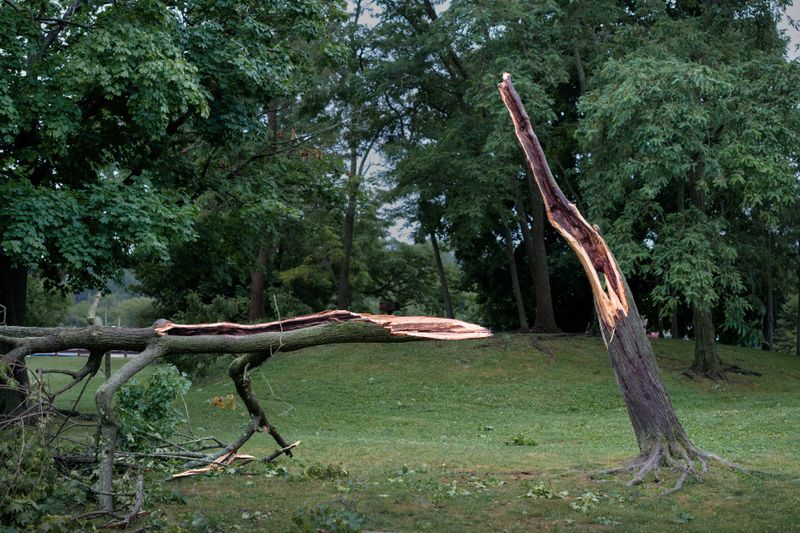
That record matters because condition is the factor most likely to affect responsibility. Decay, hollowing, or old deadwood visible at the failure point is far more persuasive when documented on the day than when described from memory weeks later.
Ask the crew to photograph the cut faces as the trunk is sectioned, because interior decay is often only visible once the wood is opened. If anything notable turns up, keep those images with the rest of your documentation.
Our tree removal crews handle the clearing and note what the tree shows while doing it. Getting both from one visit is simpler than reconstructing the picture afterward.
Step 6: Know When to Bring in Professional Advice
Most of these situations resolve through the insurers without anyone needing more than that. Some do not.
Consider getting advice when any of these apply:
- A claim is denied and you do not understand why: ask your carrier first, then look further
- The damage is substantial relative to your coverage: the gap is worth understanding early
- There is a genuine dispute about the tree’s prior condition: this is the common flashpoint
- Your neighbor is uncooperative or disputes the basic facts: informal resolution has stalled
An attorney can advise on your specific circumstances in a way general information cannot. That is a different question from clearing the tree, and both can proceed in parallel. Questions about what your own policy pays for belong with your carrier, and our guide to homeowners insurance and tree removal covers that side.
Get the Tree Off Your Property and the Question Answered
The responsibility question resolves faster when the evidence was captured properly on day one and the tree was cleared by someone who documented what they found. Those two things are usually within your control.
At TurnKey Tree Cutting, we clear the tree, record its condition while the evidence is still there, and handle stump grinding once the claim allows the work to finish. Call us today to get the tree handled and the record made.